Showing posts with label How To's. Show all posts

Homemade Pizza

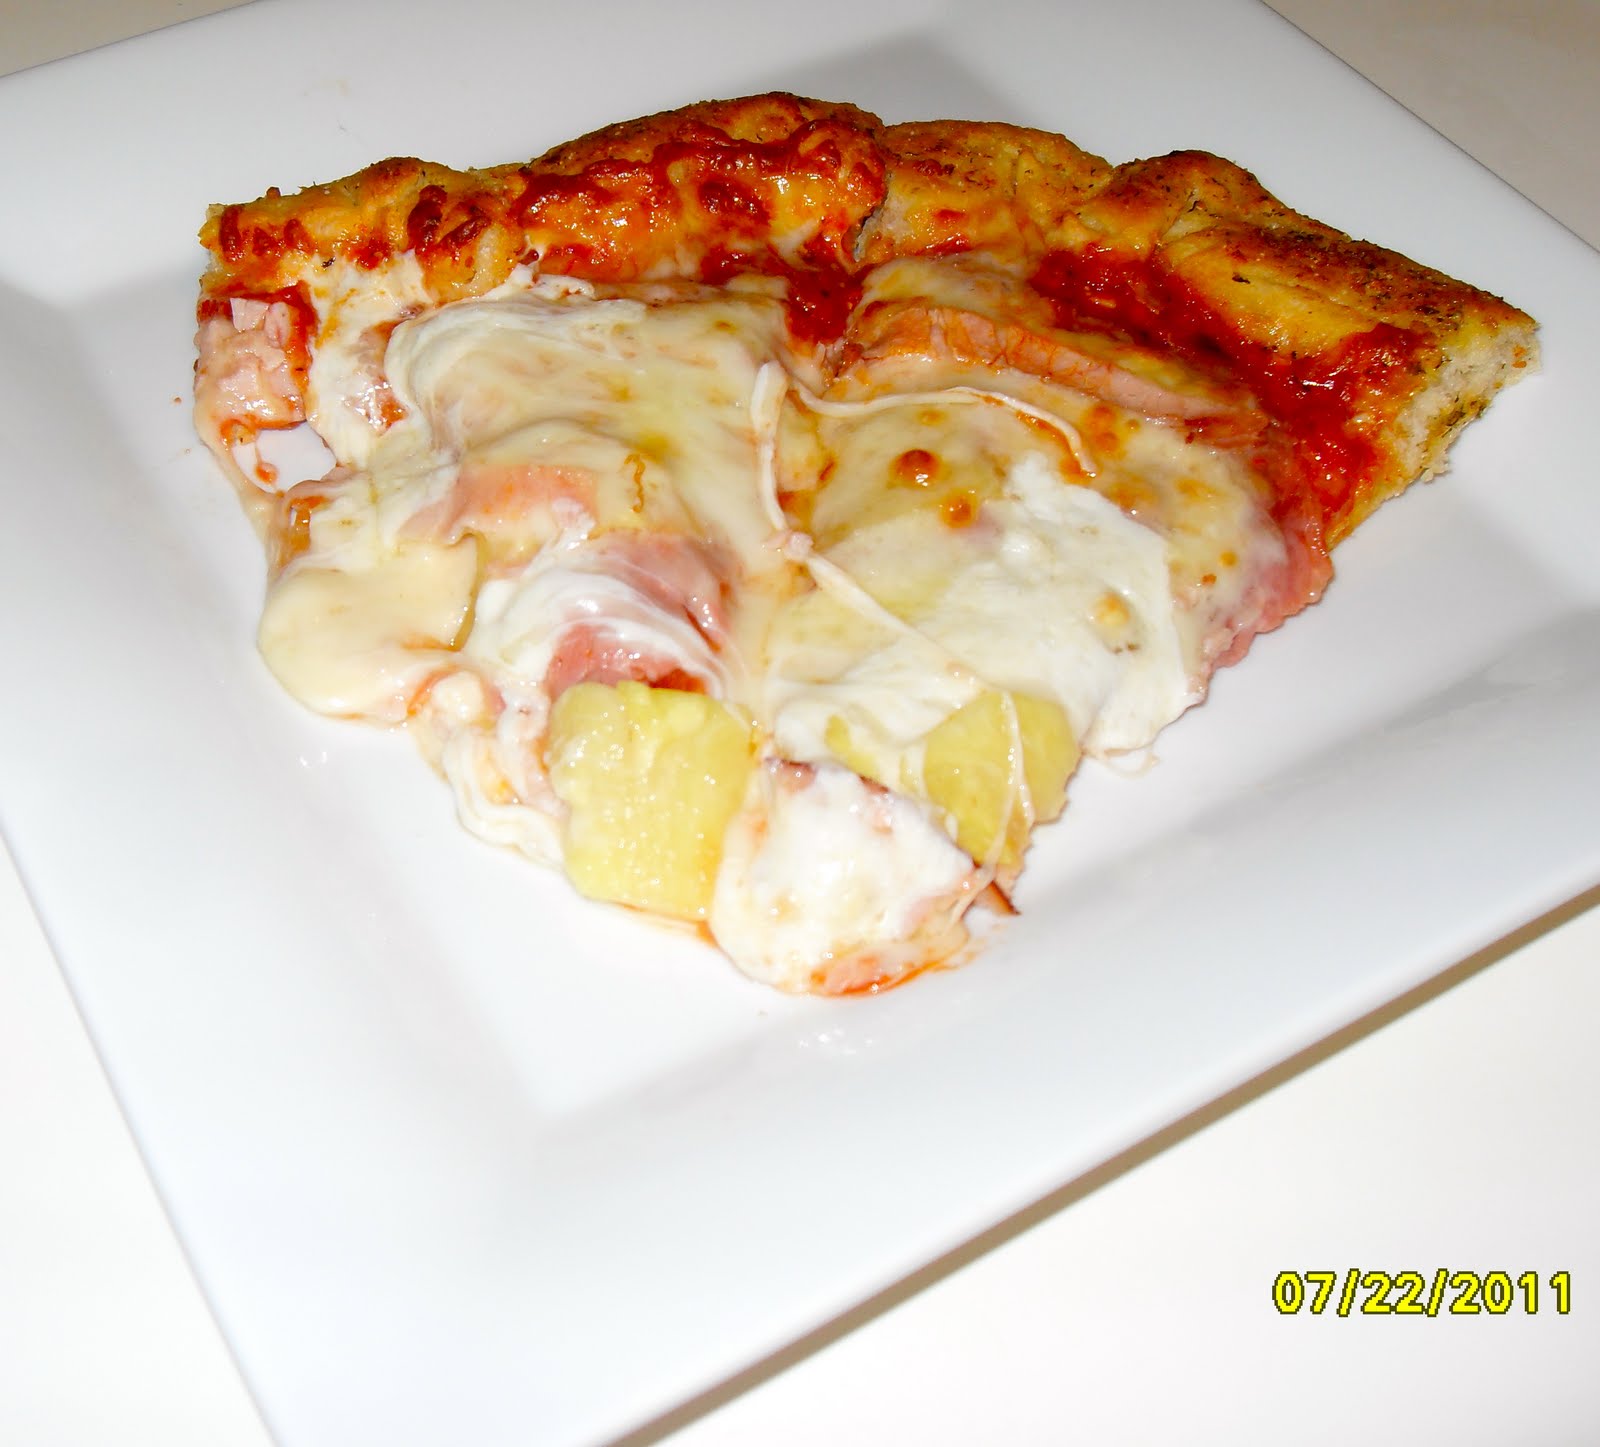
I have been wanting to make my own pizza for a while now, and since I purchased the Pizza Que Grilling Stone yesterday I figured what better time to make my own pizza then now.


Chris loves hawaiian style pizza so I decided that I was going to make my own version.


I started with the pizza sauces since the seasonings need to marinate for about 1 hour. 


For the sauce I used, tomato paste, minced garlic, honey, basil, marjoram, onion powder, oregano red pepper flakes, cayenne, Parmesan cheese, and pepper. 


1. I dusted my work surface with cornmeal to prevent the dough from sticking. 

2. I patted down the dough with my hands to give it the round shape and to slightly flatten.

3. Using a rolling pin I rolled out the pizza until it attained the thickness I desired.


4. I folded in the edges of the pizza dough to form the "crust".


5. Using a fork I pierced the pizza to help prevent any air bubbles from forming while it is in the oven baking.
6. Using a spoon I poured on the pizza sauce and smeared it around on the pizza.

7. I had some extra seasoning I had made earlier in the week for garlic bread, so I decided to use that the flavor the crust. 
I sure am glad I did because it was delicious. 


8. I added one layer of ham on top of the pizza sauce.


9. Then, I scattered some sliced pineapple on top of the ham.


10. Next, I added both types of mozzarella cheese and shredded Canadian bacon to finish it off. 


11. Finally it is time to bake it. 
Per the directions on the Pizza Que cooking Stone I baked the pizza on 425°.


Let's talk about an amazing pizza; it turned out perfect and was absolutely delicious.


How to make a fabric banner


I have been wanting to make a fabric banner to use for various occasions we may have at our house. I think it is a fun, creative way to add additional color to any decor or theme.

I purchased 8 colors of fabric; quarter yard of each (there are only 7 colors in the picture as I had to go back to the store to the the orange fabric after I took the picture).

Material - 
  1. 8  pieces of fabric (quarter yard of each)
  2. scissors
  3. Craft rope to tie the fabric around


Step One - I folded each piece of fabric in half once.

Step Two - I cut the fabric in a straight line down the center of the fold I just made.

Step Three - I folded each piece individually the I just cut in half once more then cut straight down the center again.

Now I have four 2" wide and 36" long strips.
I repeated steps one - three for each fabric.


Next I made four rows and layered the fabric so that each row only had one of each pattern/color. That just made it easier for when I tie the fabric around the rope.

I did not take a picture of the fabric being tied around the rope.
What I did though was placed a piece of fabric approximately 2" above the rope and then tied it in a knot (I repeated that step until the banner was complete).

Cinnamon Swirled pancakes with Cream Cheese Syrup

There are numerous things you can create to change up the way a normal pancake or even waffle taste. Many people use maple syrup, others add fruit, some may use whipping cream; there are tons of possibilities.

Today I decided to add the cinnamon mixture that I use when I make my cinnamon bread.
I took a pancake recipe that I already loved and added a twist to it. I swirled in the cinnamon mixture; that made for an extra delicious pancakes.

Step One - After preparing the batter poured it on the griddle and let it sit for approximately one minute just to firm up so the cinnamon mixture would not run out when I swirl it in.

Note - I cook the pancakes on low so that they will not cook too quickly.

Step Two - I put the cinnamon mixture in a pastry bag and swirled it onto the pancakes.

Note - you can use a plastic zip bag if you do not have a pastry bag and just snit the side after you pour the mixture into it.

 Step Three - I waited approximately 2 minutes before flipping sides (I could see the bubbles starting to pop on top on the pancake) . As you can see, the cinnamon mixture did not go through to the other side since in "Step One" I waited a minute before swirling in the mixture.

Once the pancakes are finished you can see how the cinnamon mixture baked in the pancakes perfectly making it look crispy and caramelized.

Now comes the topping; I mixed together melted butter, melted cream cheese, confectioner sugar and vanilla bean paste to make the cream cheese syrup.
                                   
My boyfriend said "these are the best pancakes he has ever had." Now that is a huge compliment and made my day that much better. I will defiantly be making these again.

Creative Message

My boyfriend has to travel for work some so when he does I try to do something sweet for him to see when he arrives at the airport or his destination. 
Today he had to go out of town so I made him this hand message card a slipped it into his laptop bag. Some may think this is cheesy; I love doing things like this though. 


How I made it:
I took 2 sheets of 8x10 scrapbook paper a sharpie and double sided tape.
With the first sheet I folded it in half and traced my hand; next I cut out the traced shape.
Then I cut a strip long length wise of the second sheet of paper and folded it like stairs. 
After that I wrote the messages on each piece of paper and finally I used double sided tape to make it all stick together (you can use glue or another adhesive, I just had double sided tape on hand). 


There you have it; a creative message. 
This would also be a creative way for you child to send a personal card to someone too.